Connecting ReviewRail to Zapier
This article will help you learn how to connect and use ReviewRail’s Zapier Integration to bring new customers into ReviewRail to kick off the feedback request flow..
Step-By-Step Instructions
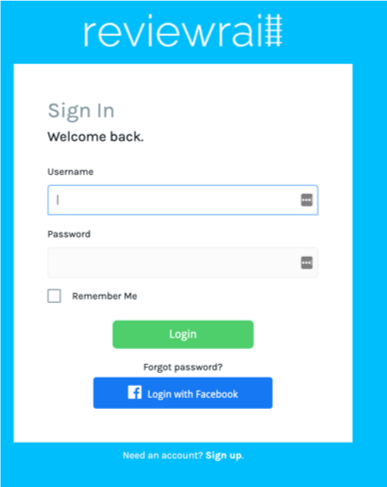
1. Login to ReviewRail.
2. Navigate to the Integrations Page and Generate your Zapier API Key. You can now use this api key and your account’s email address to create a Zapier Connection. **
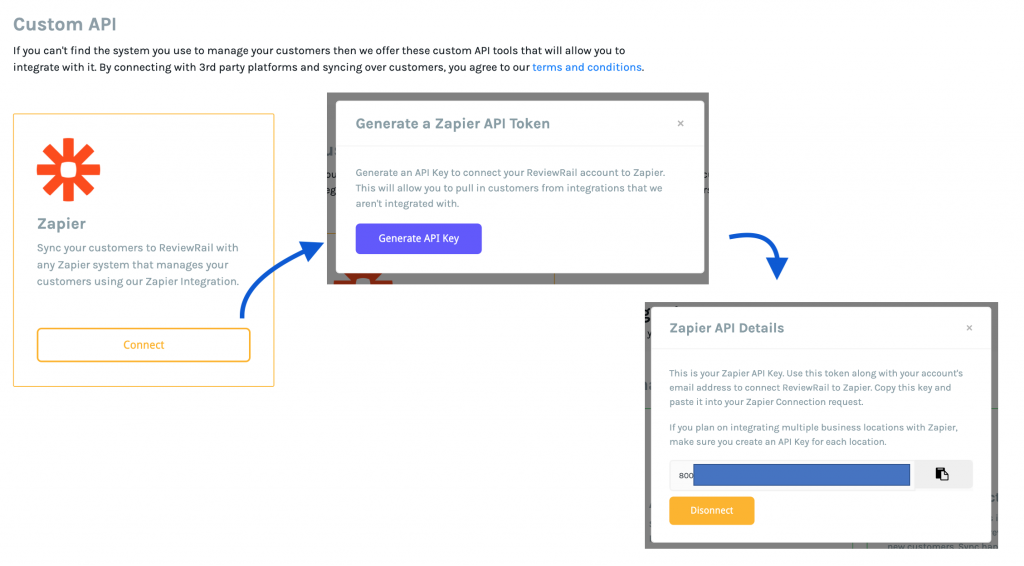
3. To create a Zapier Connection you need to go to the Zapier Connections page and “Add Connection” for ReviewRail. Use the API Key you generated in step 2 and your acocunt’s email address to verify your access.

** Each key is specific to one location. If you have multiple businesses in ReviewRail requiring a zap, you will have to create each indifvidually.
Create Customers from Zapier to ReviewRail
Our current integration offers one action, to create Customers in our application. To trigger this action you simply need to create a Zap that connects the source application that manages your customers into ReviewRail. We will make these instructions as generic as possible to help the most users. If you need help with your particular source application, or in setting up your Zap, you can feel free to contact our support team using the chat widget available when you login.
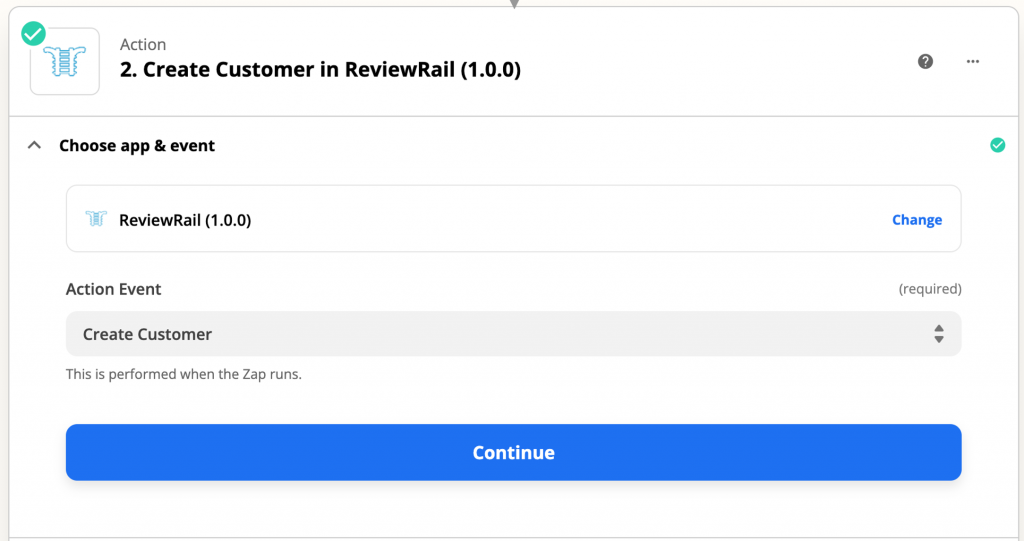
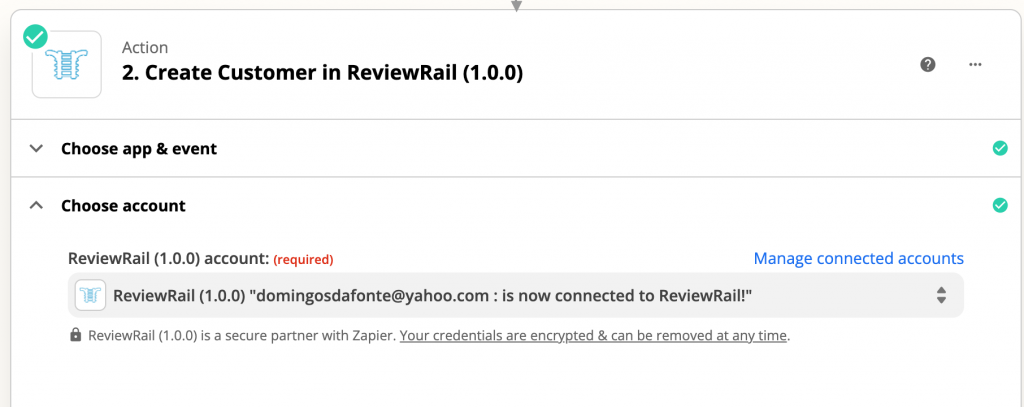
1. Add the Create Customer Action to your Zap.
2. Add your Connection.
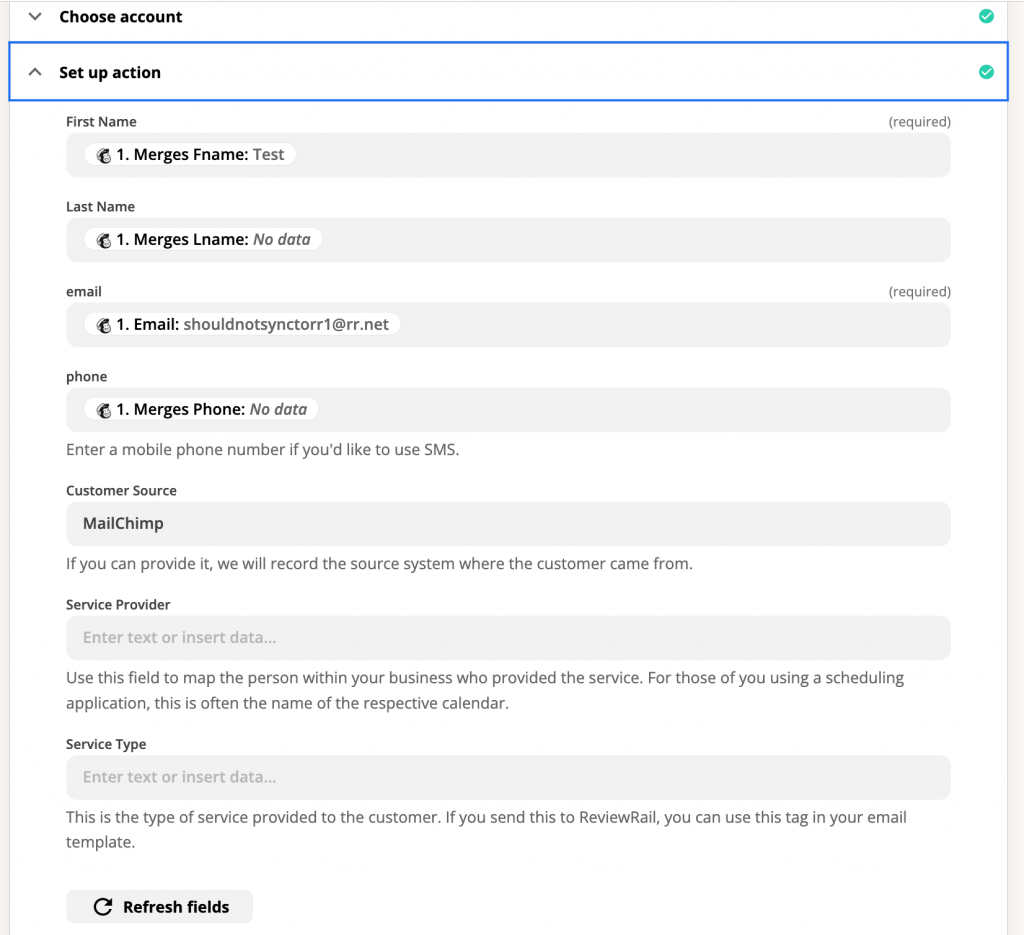
3. Map the fields from the source to ReviewRail Fields.
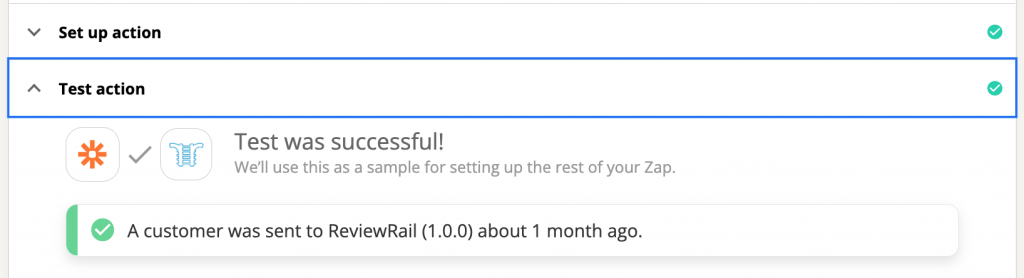
4. Finally, you test the action and name your Zap!
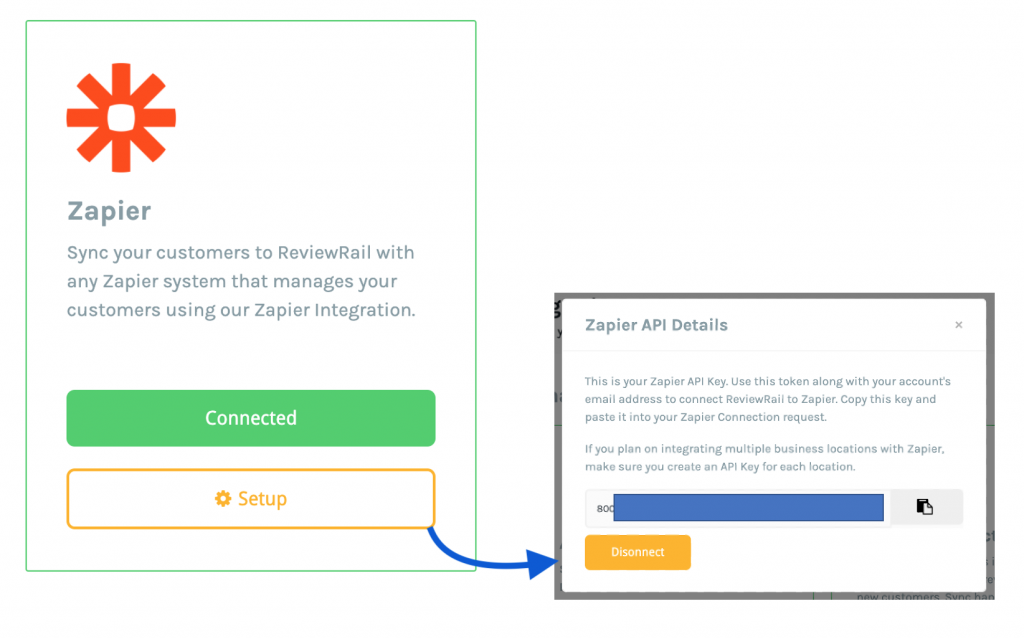
Disconnecting Zapier from ReviewRail
If you decide you do not want to connect your Zapier with ReviewRail, you can simply press Disconnect on ReviewRail which will in effect delete your key. We ask that you also disconnect the connection in your Zapier account as well for a clean disconnect.